How to Stop Water Leak Before Plumber Arrives
TLDR; Acting fast during a water leak is critical to reduce damage, starting with immediately shutting off the water supply and containing any spread using towels, buckets, or drains. Temporary fixes like pipe tape can help only if it’s safe, but major leaks, sewage issues, or flooding signal a true plumbing emergency that needs a professional right away. While waiting for a plumber, prioritize safety by avoiding electrical hazards and slippery areas. After the emergency, prevent future leaks by inspecting plumbing regularly, knowing your shutoff valves, and choosing a reliable emergency plumbing service in advance.
Water leaks rarely show up at a good time. A lot of the time, they start late at night or right as someone is heading out the door, which makes everything feel more urgent. You might hear dripping, see water creeping across the floor, notice a stain forming on the ceiling, or watch the spread happen faster than expected. In moments like that, people usually grab their phone and search for an emergency plumber near me. That reaction makes sense in many cases, and it’s most of the time the right call.
What makes leaks so stressful is how fast water moves. It can slip into floors, walls, cabinets, and even wiring before the full picture is clear. A slow, steady drip might not look serious at first, but it can turn into expensive damage if it keeps going. Some homeowners freeze under pressure. Others rush into quick fixes that feel helpful but more times than not create new issues. From my view, neither response helps much in the moment.
The most useful thing is knowing what to do before help arrives. This article explains how to stop or slow a leak while waiting for a plumber, using clear steps and simple language. You’ll find guidance on locating and shutting off the water, ways to protect your home while the leak is active, and reminders about common mistakes people make when stress is high. There’s also a clear point where DIY efforts should stop and a 24/7 plumber should be called right away, because that line does exist.
This guide is meant for real homeowners dealing with real plumbing emergencies. The focus stays on safety and practical actions, not clever tricks. It doesn’t replace a professional. Instead, it helps reduce damage while a 24/7 plumbing service or plumbing service 24/7 is on the way. If someone is already searching for a plumbing emergency near me, starting here can save time, stress, and a lot of cleanup later.
Why Acting Fast Matters During a Water Leak
Water damage shows up more times than most homeowners expect, and it’s one of the most expensive problems in the U.S. Insurance reports keep showing that water damage and freezing make up more than a quarter of all homeowner claims each year, which is a big slice. The average claim comes in around $14,000, and that number a lot of the time goes up when a leak is ignored, brushed off, or noticed too late. That kind of delay happens more than people realize.
The tricky part is how well water hides. A lot of the time, it doesn’t stay where you first see it. It moves under flooring, settles behind walls, and soaks into insulation quietly, which is why damage spreads before anyone steps in. In a short time, drywall and wood can become soaked. Once that happens, materials start losing strength. Wait a bit longer, and mold becomes a real risk. In many cases, the damage keeps piling up while the leak keeps supplying more water.
Humidity adds another problem. Moisture trapped inside walls creates the right setup for mold to grow and spread, sometimes within 24 to 48 hours. That window is smaller than most people expect. Mold cleanup alone can cost thousands, even if the rest of the home still looks fine. Acting quickly limits both the visible mess and the hidden problems that can affect health later.
Emergency plumbers point out again and again that repair costs can double when action is delayed. Fixing the broken pipe is more times than not the easiest part. The bigger cost comes from damaged floors, cabinets that need to be removed, or water reaching electrical systems. Shutting off the water early can mean repairing one pipe instead of dealing with full restoration.
Below is a quick look at how serious water leaks are for homeowners.
| Water Damage Metric | Verified Data | Year |
|---|---|---|
| Homes filing water damage claims | 1 in 60 insured homes | 2025 |
| Share of all insurance claims | 27.6% | 2025 |
| Average insurance payout | $13,954 | 2025 |
| Water wasted by household leaks | ~10,000 gallons per year | 2025-2026 |
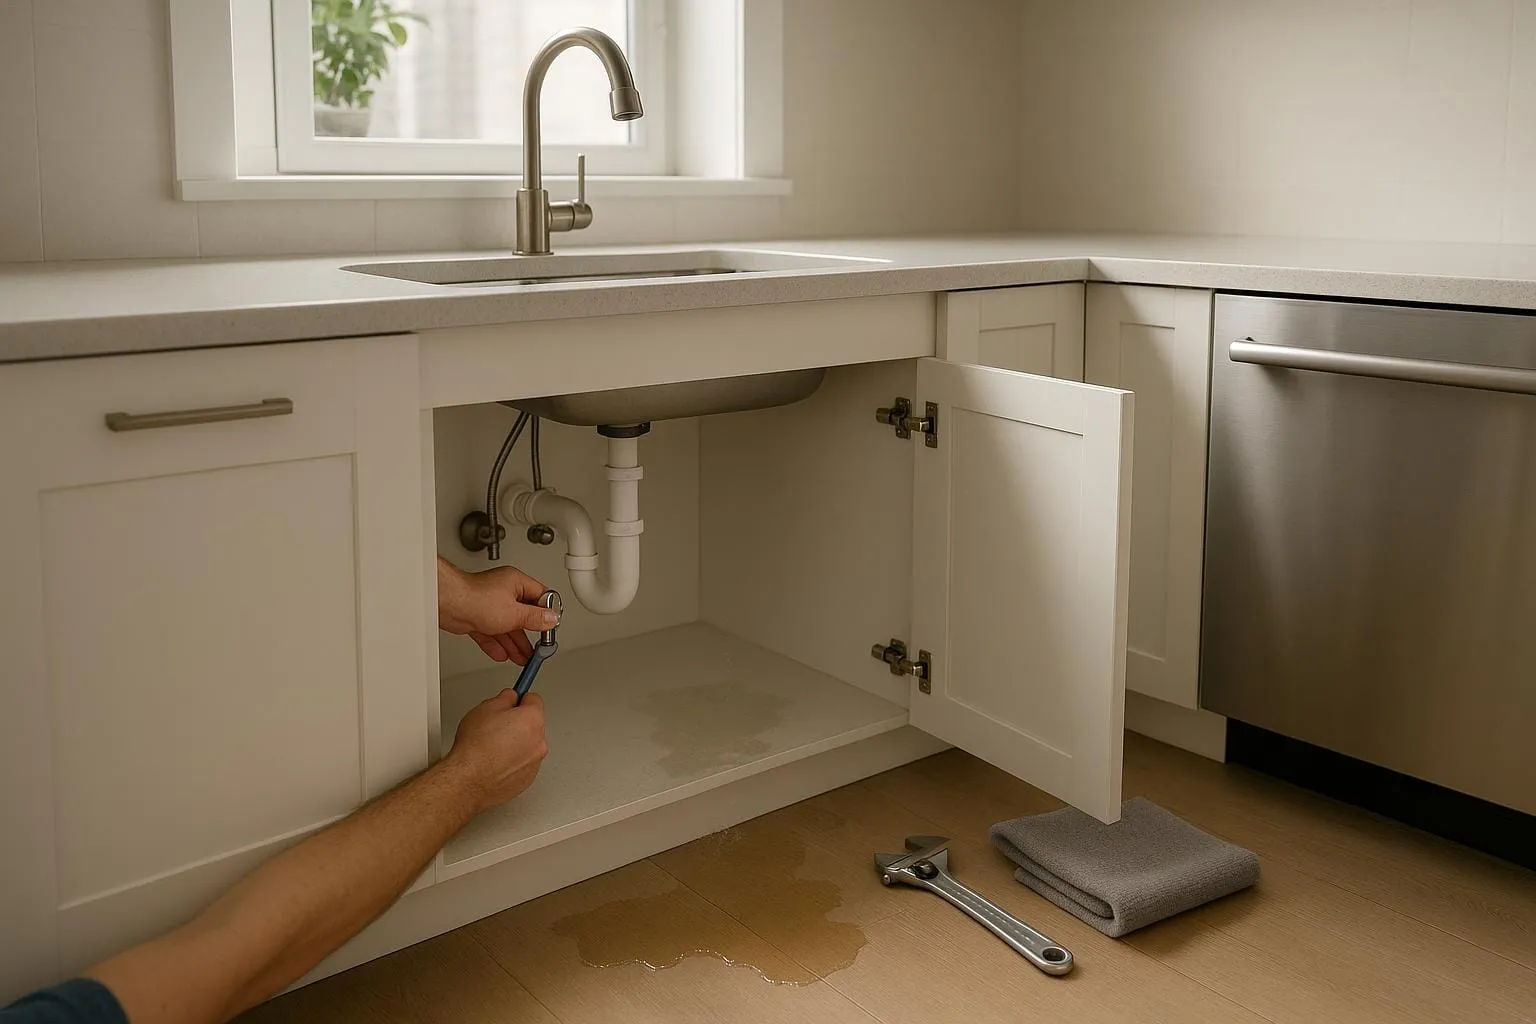
Step One: Shut Off the Water Immediately (Emergency Plumber Near Me Tip)
The fastest way to limit damage in a plumbing emergency is usually the simplest one: stop the water. Towels and tools can wait. In the first few minutes, what makes the biggest difference is cutting the flow. Less water moving means less mess to deal with later. In moments like this, that single step matters more than anything else going on.
In most cases, there’s a small shutoff valve close to the fixture with the problem. Sinks, toilets, washing machines, and water heaters almost always have one, even if it’s slightly hidden. Turn the valve clockwise until it stops. In about 70% of situations, this alone will slow or fully stop the leak, which gives you some breathing room. Even if it only reduces the flow, that still helps when water is spreading quickly.
If there’s no nearby valve, or the leak keeps going, move to the main water supply. This valve is usually in the basement, crawl space, garage, or near the water meter. Closing it turns off water to the entire house, including areas that aren’t leaking. It’s a big step, but in many cases it’s the right one.
Older homes can make this trickier. Main shutoff valves in these houses are sometimes stiff, rusty, or fragile. Take your time and apply steady pressure. Don’t force it. Breaking the valve can make the flooding worse and may mean calling the water company, which is a headache most people want to avoid.
After the water is off, open a few faucets and flush one toilet once. This releases pressure and drains leftover water, which often cuts down on dripping. These small actions usually help more than people expect.
Many homeowners don’t know where the main shutoff valve is until something goes wrong. If that’s happening now, take a moment and look carefully. If not, find it today so the next leak doesn’t turn into a frantic rush.
If a valve won’t move or breaks, don’t push it. Call a 24/7 plumber and let them fix it safely. You can also review the Emergency Plumbing Checklist for Homeowners for quick guidance.
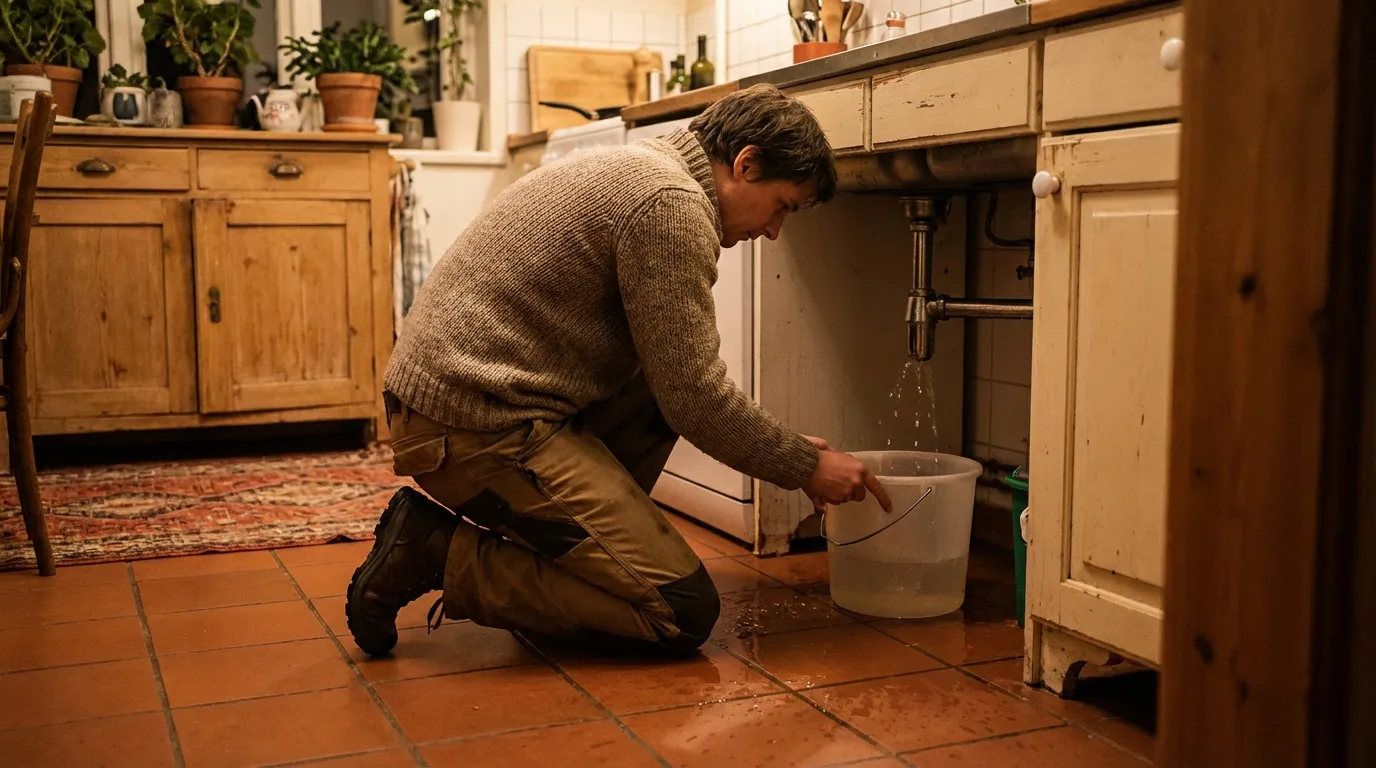
Contain the Water to Limit Damage
After the water supply is shut off, the next important step is stopping any leftover water from spreading. This won’t fix the leak itself, sadly, but it can make a big difference in how much damage comes next. Think of it as a temporary pause button. It doesn’t last long, but it’s usually worth doing and worth doing carefully.
Buckets and bowls do most of the work here. They’re most helpful when placed right under the drip. Towels help too, especially for water that has already spread out. If water is moving across the floor, rolling towels into thick lines can slow it down or even guide it in another direction. That small delay can buy you time and help keep water away from walls and cabinets, where damage can spread faster.
If the leak is coming from above, the approach changes a bit. Start with a bucket under the drip. When drywall begins to bulge, it’s sometimes because water is building up on top. Carefully making a small hole can let that water drain in a controlled way. This isn’t for everyone and does carry some risk, but in real situations it can lower the chance of the ceiling giving way all at once.
If you have a wet/dry shop vacuum nearby, it can help a lot. These are made for standing water and can speed things up, limiting how much moisture soaks into floors and other materials. That time saved really adds up.
Before the water spreads further, move rugs and electronics out of the area. Water and electricity don’t mix well. If outlets or appliances are involved, keep your hands clear and shut off power at the breaker if needed. Staying safe matters more than rushing.
Use Temporary Fixes Only If Safe (Advice from Emergency Plumber Near Me)
The most important thing here is safety, most of the time even before anything else. Temporary fixes can slow a leak, but they’re closer to hitting a pause button than actually fixing the problem. They should only be used if it’s safe, and only after the water is shut off or at least mostly under control. That order matters more than it might feel like in the moment.
In many cases, small pipe leaks respond to simple steps. Pipe repair tape or a rubber patch with a clamp can cut down dripping. Epoxy putty can help with tiny cracks, but only if the pipe is completely dry, no moisture at all, which is a lot of the time the hard part. These steps are meant to buy time, not replace a professional repair, in my view.
Timing is where temporary fixes make the most sense. If a plumber is already on the way but running late, even reducing the leak a bit can limit water damage. Delays happen for real reasons: bad weather, heavy traffic, or packed emergency schedules. Cutting a leak in half while you wait helps more than people expect.
What should you avoid? Never rely on duct tape by itself. Once it gets wet, it fails fast. Soldering or cutting pipes during an emergency is also a bad idea unless you’re trained. Those moves can make things worse, sometimes much worse, and that’s not a risk worth taking.
For a leaking hose or supply line, try a gentle tightening. One small turn is most of the time enough. Over tightening can damage threads or fittings. If the leak continues, stop and let a plumber handle it.
Renters need to be extra careful. Some temporary fixes can break lease rules or cause landlord problems. This guide explains what renters can and can’t fix during a plumbing emergency: Emergency Plumbing for Renters: What You Can and Can’t Fix.
When there’s doubt, stopping is often the smartest move. A “plumbing emergency near me” search can connect you with trained professionals who can handle the repair safely, without guesswork.
Know When It Is a True Plumbing Emergency
Some of the worst plumbing problems don’t come with a big warning. They can start small and quiet, then grow fast when no one’s paying attention. Knowing which situations count as real emergencies helps homeowners act quickly and avoid damage that’s much harder to fix later. It may not look urgent at first, but a lot of the time, it is.
Burst pipes, active flooding, sewage backups, or any leak near electrical systems like outlets or breaker panels fall into the “act now” category. These are rarely problems that solve themselves. They need immediate attention and a call to a 24/7 plumbing service, without waiting around to see what happens.
Hidden issues matter just as much. Leaks inside walls, under concrete slabs, or near the foundation can sit unnoticed for weeks. That’s where damage builds quietly. High water bills, damp spots that won’t dry, or musty smells that stick around are signs you shouldn’t ignore.
If water is spreading fast, DIY fixes aren’t the move. In many cases, it’s smarter to shut off the main water valve first, then call an emergency plumber near me right away.
Many homeowners delay, hoping things settle down. That almost never works. Modernize, which is reliable for national cost ranges, says emergency plumbing runs about $300 to $600 per hour, and waiting can double the total because of added damage (Modernize). You can also read the Complete Guide to Finding Local Emergency Plumber for more insight.
If you’re unsure what to watch for, we covered the warning signs here: 7 Signs You Need Emergency Plumber Right Now. It’s a helpful checklist when a small damp patch turns into a real problem overnight.
How to Stay Safe While Waiting for the Plumber
The biggest risk during a plumbing emergency isn’t always the water itself, but what comes with it. Safety matters more than stopping the leak right away, even if the problem seems small at first. Those are the moments when people tend to relax too much and get hurt.
Standing water can become dangerous when electricity is nearby. Water carries electricity, so even a small leak can turn risky faster than you’d expect. Smelling gas is a much bigger concern. If that happens, leave the house right away and call emergency services. Trying to fix it on your own rarely ends well.
Heavy flooding can change conditions fast. Wearing shoes with rubber soles helps, and it’s best to stay out of basements, where water levels can rise with little warning. Structural damage and dirty water can create risks that aren’t easy to see, and that’s where many injuries start.
Handling wet items? Gloves make a difference. Slippery floors need extra care, especially in tight areas. Falls happen quickly, and keeping kids and pets away until things are stable prevents many injuries.
Once it’s safe, take photos or videos of the damage for insurance. Cleaning can wait unless the mess itself creates a safety issue.
Calling a 24/7 plumbing service and clearly sharing where the leak is and what you’ve done so far helps them arrive ready to fix the problem.
For planning ahead, this guide may help: How to Prepare for Plumbing Emergency at Home.
Preventing Future Leaks After the Emergency (Advice from Emergency Plumber Near Me)
The real headache a lot of the time comes after the water’s been stopped: figuring out how to keep it from happening again. Most leaks trace back to aging pipes, loose fittings, or pressure issues, especially in older plumbing systems. Those small problems can turn into big messes, and that’s rarely a surprise once you look back.
One useful approach is having a plumber take a close look at the nearby pipes and valves. In many cases, asking about the age of the lines and their condition leads to clear advice on what’s worn out. Swapping old supply lines or tired shutoff valves is a smart move, since it tends to cost far less than repairing water damage later, and saves a lot of stress.
Annual plumbing inspections help catch early warning signs before they grow into bigger issues. Preventive maintenance can spot quiet weaknesses that don’t stay quiet forever.
What should raise a red flag? Low water pressure, rust-colored water, recurring damp spots, or unexplained moisture are common clues. Small issues are usually easier to handle when addressed right away.
Smart leak detection systems are becoming more common, too. Some shut off water automatically when a leak is found, which helps a lot for vacation homes and busy families. Homes with smart shutoff valves tend to see less severe water damage events (1st Response Leak Detection). You can also read When to Replace Your Plumbing System: A 2026 Guide for Aging Homes to understand long-term solutions.
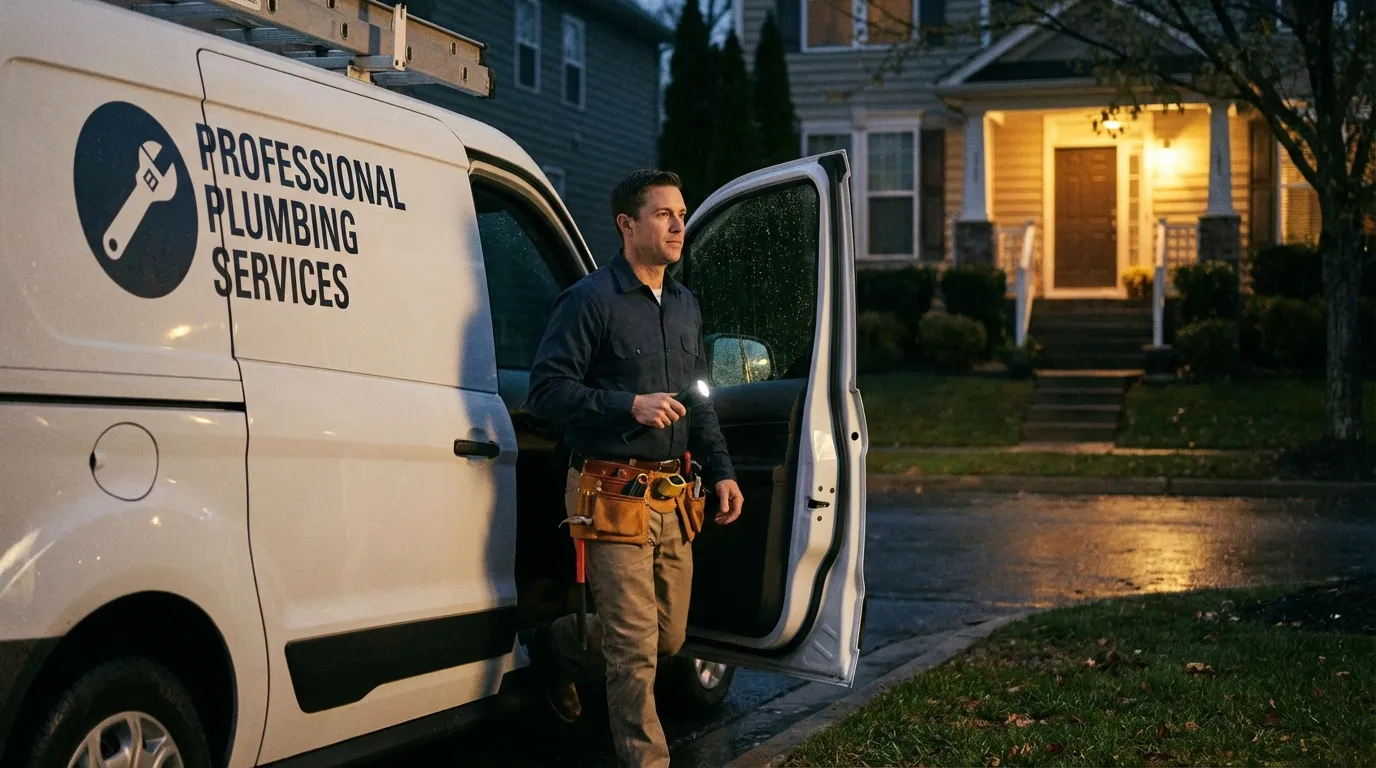
Choosing the Right Emergency Plumbing Service
When water is leaking right now, delays are the last thing you can afford. Not all plumbers respond the same way in emergencies, some jump in fast, others don’t, and you can tell pretty quickly. Licensed, insured pros with true 24/7 service stand out. Response time matters just as much as experience, at least in my view.
What should you listen for on the call? Clear answers help. Ask about availability and pricing, then set an arrival time with no guessing. A reliable emergency plumber often explains the next steps calmly, which really helps.
Online reviews and local tips show how a company handles emergencies. Useful details focus on speed and clear pricing. Don’t skim, professionalism shows in small things.
We broke it down here: Best Emergency Plumbers: What to Look For. Take a look, especially at how arrival times are handled.
Common Questions People Ask
Should I always shut off the main water during a leak?
Stopping water fast often limits damage when a leak is active, it happens. If a local valve won’t stop it, shutting off the main water often makes sense (yeah). But do it only when needed, not by cutting supply and letting water keep spreading through the house.
Can a small leak wait until morning?
Small leaks don’t stay small overnight; they can get worse fast. Water damage spreads fast, so it’s safest to turn off the water and call a 24/7 plumber instead of waiting.
Is it safe to use temporary pipe repair tape?
Yeah, it can help for a short time, and that’s the key point. The tape often just slows a leak, not fixes it (in my view). Since it’s temporary, a professional repair soon still makes sense.
What if I cannot find my main shutoff valve?
Start in the crawl space, then look near the water meter, basement, or garage. What helps most? A quick check, it can take just minutes. If it’s missing in an emergency, call an emergency plumber.
Coverage is most of the time available, but the details depend on the policy. Sudden leaks are often covered, while damage tied to long-term neglect isn’t. Photos help document what happened, and a quick call to the insurer cuts down on missed details. What about shared buildings? Homeowners often ask about shutting off water and mold growth. Let building management know, since leaks can spread into other units.
The Bottom Line for Stopping Water Leaks Fast
The fastest wins usually come from the first few minutes. Water leaks feel overwhelming, and stress is part of it, but acting quickly often limits the damage. The main shutoff valve, near the meter or under a sink, matters most right away. Simply stopping the flow can change everything. From there, contain the mess with what’s nearby so water stays off floors and walls. Short-term fixes can help for a little while, but only if they truly make sense.
You don’t need to become a plumber in a panic. That’s rarely the goal, and it can backfire. The role here is simpler: protect the home until help arrives. A reliable 24/7 plumber comes with the right tools and experience, which usually lowers stress during an active leak or backup.
Preparation often makes reacting easier. Knowing shutoff locations ahead of time helps. Towels, a bucket, and gloves are handy to keep close. Saving a trusted plumbing contact means no scrambling.
Dealing with a plumbing emergency near me right now? Follow these steps, then reach out to a 24/7 plumbing service, often that quick call keeps water where it belongs.