How to Prepare for Plumbing Emergency at Home
Plumbing emergencies can cause severe damage if not addressed quickly. Here’s what you need to know to prepare and respond effectively:
- Know Your Shutoff Valves: Locate and test your main water shutoff valve and individual fixture valves to stop water flow during an emergency.
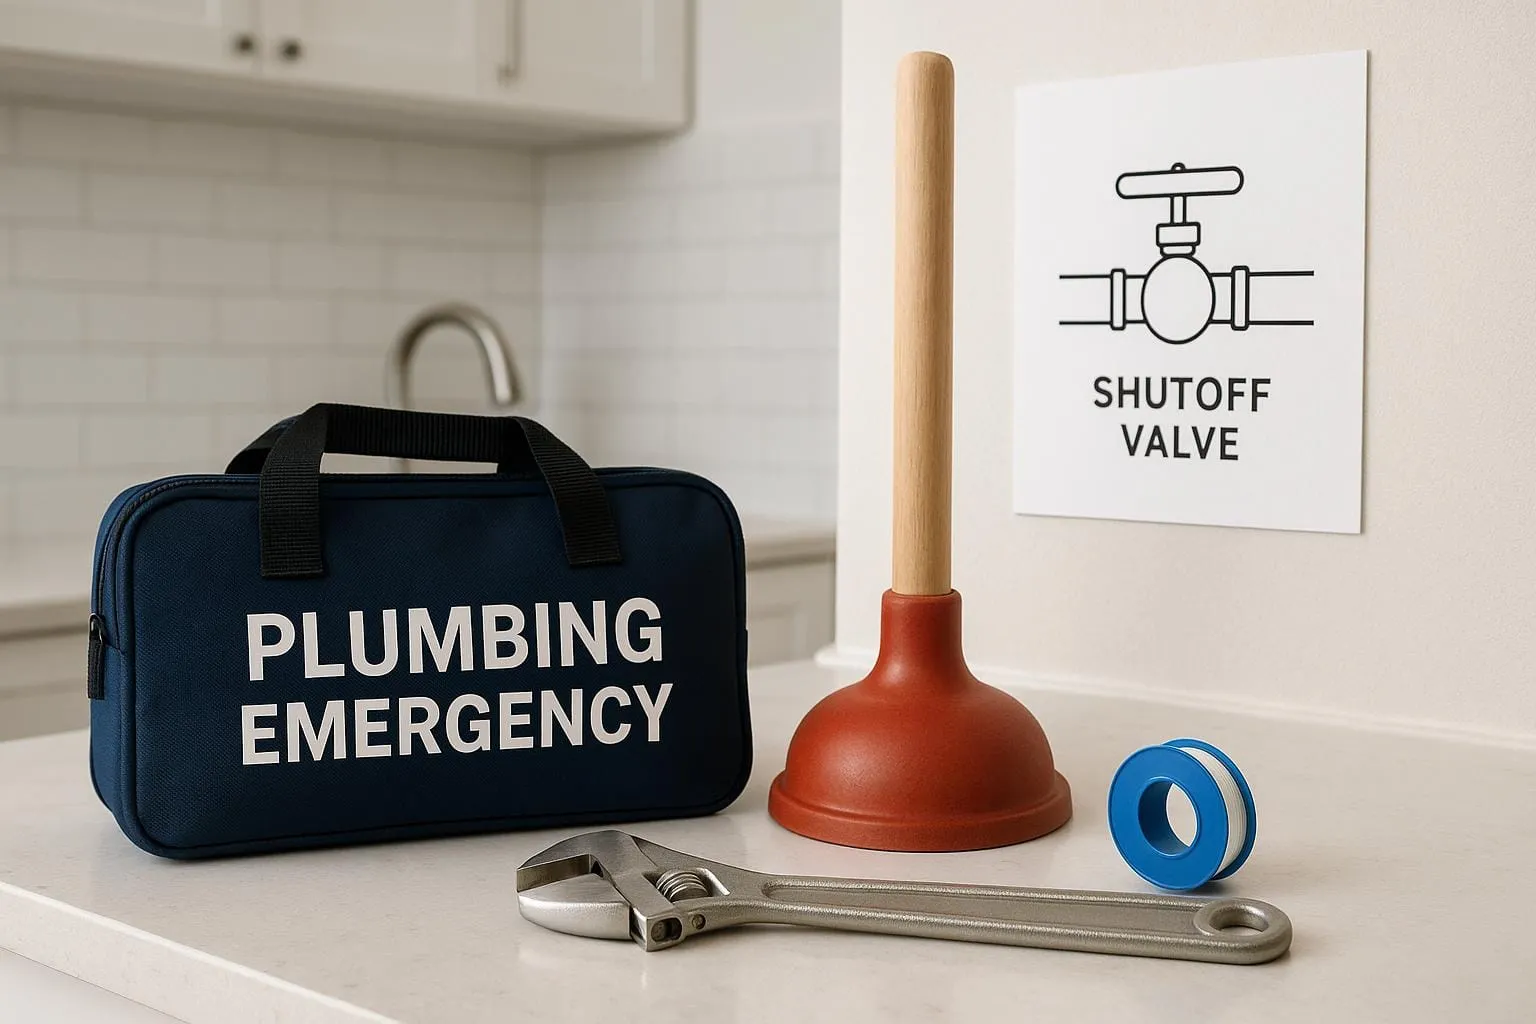
- Emergency Plumbing Kit: Stock essential tools like plungers, wrenches, plumber’s tape, and a drain snake. Add water control items like buckets, towels, gloves, and flashlights.
- Spot Warning Signs Early: Watch for leaks, unusual noises, slow drains, water stains, or spikes in your water bill to catch problems before they escalate.
- Act Fast During Emergencies: Shut off water and electricity, contain leaks with towels or buckets, and document damage for insurance. Call a plumber immediately for professional help.
Preparation and regular maintenance can save you time, money, and stress. Keep your tools ready, inspect your plumbing system often, and ensure everyone in your household knows how to respond.
7 Things You Need to Build Your Plumbing Emergency Kit!
Building Your Plumbing Emergency Kit
An emergency plumbing kit is your home’s go-to resource for handling unexpected plumbing issues. Having the right tools and supplies at the ready can save you time, money, and stress when problems strike. The trick is to prepare your kit before you need it.
Tools You Need in Your Plumbing Kit
Start with the essentials to tackle common plumbing problems. For clearing clogs, keep both a cup plunger (great for sinks, tubs, and showers) and a flange plunger (designed for toilets) in your kit.
Add a pipe wrench for larger tasks, an adjustable wrench for smaller fittings, and channel-lock pliers to handle pipes of various sizes. These tools will cover a wide range of basic repairs.
Stock up on plumber’s tape (also called Teflon tape) and pipe sealant to temporarily stop leaks at threaded connections. These quick fixes can hold you over until a permanent solution is in place. It’s also smart to have spare parts like washers, O-rings, gaskets, cartridges, and toilet flappers. Keep them sorted by size and type to make repairs faster and easier.
For drain blockages, include a plumber’s snake (also known as a drain auger) to clear clogs without damaging your pipes.
Once you’ve gathered your tools, think about water control and safety supplies to minimize damage and protect yourself during repairs.
Water Control and Safety Supplies
Large buckets are a must for catching water from leaks or overflows, and absorbent towels help manage spills and prevent further damage quickly. Both are simple but essential items for controlling water-related issues.
Don’t overlook protective gear. Keep disposable gloves to protect your hands from grime and contaminants, and store a variety of sizes to ensure a good fit for everyone in the household. Safety goggles are equally important, shielding your eyes from splashes and debris.
Good lighting is critical, especially when working in dim areas like under sinks or in basements. Opt for LED flashlights or headlamps - they’re bright, long-lasting, and keep your hands free while you work.
How to Store and Maintain Your Kit
Keep your kit in a spot that’s easy to access, such as a utility closet or garage. Avoid storing it in areas prone to flooding. Use clear containers or labels to organize your tools and supplies, so you can grab what you need without wasting time.
To ensure your kit is always ready, inspect it every few months. Check for worn-out tools, missing items, or anything that needs replacing. Address these issues immediately to maintain your kit’s effectiveness.
Think about seasonal adjustments, too. Depending on your home’s plumbing needs, you might need to swap out or add items throughout the year. And most importantly, make sure everyone in your household knows where the kit is stored and how to use the basics. A little preparation can go a long way in turning a plumbing emergency into a manageable situation.
How to Shut Off Your Water Supply
Being able to quickly shut off your water supply can make all the difference during a plumbing emergency. It’s crucial to know where your shutoff valves are located and how to use them before you actually need to. Let’s break down how to locate and test these valves so you’re prepared for any situation.
Finding Your Main Water Shutoff Valve
The main water shutoff valve controls the water flow to your entire home, making it the most critical valve to locate. As plumbing expert Timothy Dale explains:
“If a leak occurs, it’s essential to know where the main water shutoff valve is located, what it looks like, and how to operate it.”
Typically, you’ll find this valve in areas like the basement, crawlspace, mechanical room, near the water heater, or in the laundry room. In some cases, it could be along an exterior wall where the main water line enters your house.
For homes using well water, check near the pressure tank or the well itself. If you’re struggling to locate it indoors, it’s worth inspecting your yard or exterior walls.
Testing and Marking Your Shutoff Valves
Knowing where your valves are is just the first step - you also need to ensure they’re functional. According to Jim Dhamer Plumbing:
“Every homeowner should test their water shutoff valves once a year to ensure they are still in good working order.”
To test your valves, clear away any clutter or obstructions to ensure you can easily access them during an emergency. Then, follow these steps:
- Turn on a faucet or fixture connected to the valve you’re testing.
- Close the shutoff valve. For ball valves, turn the handle 90 degrees; for gate valves, turn the knob several times until it’s fully closed.
- Check that the water stops flowing completely. Inspect the valve and nearby pipes for any signs of leaks.
If the valve is stiff, leaks when operated, or fails to stop the water flow, it may need repairs or replacement. Regular testing ensures you won’t face surprises when you need the valve most.
Using Individual Fixture Shutoff Valves
Individual fixture shutoff valves, also known as isolation valves, allow you to stop water flow to specific fixtures without cutting off the water supply to the entire house. These are especially handy for localized plumbing issues.
You’ll typically find these valves under sinks, behind toilets, near water heaters, and at exterior hose connections. For sinks and washing machines, there are usually separate hot and cold water lines, each with its own valve. Toilets, on the other hand, generally have a single cold water shutoff valve.
To operate these valves, turn them clockwise to close and counterclockwise to open. If a valve is hard to turn, try using work gloves for a better grip or a wrench if necessary. However, avoid forcing the valve, as this can cause damage.
It’s a good habit to occasionally operate these valves to ensure they remain easy to turn. Knowing how to manage these controls can help you respond quickly and effectively to plumbing problems.
Spotting Warning Signs Before Problems Get Worse
Catching plumbing issues early can save you from expensive repairs and extensive water damage. While knowing the location of your shutoff valves is essential, recognizing the early warning signs of trouble is just as important. Even seemingly minor issues, like a slow drain or a rattling pipe, can escalate into major headaches if ignored.
Warning Signs to Watch For
Your plumbing system often gives subtle hints that something’s wrong. For example, a drop in water pressure - whether it’s a weak shower or a faucet that barely flows - could mean there’s a leak or mineral buildup in your pipes.
Odd noises are another red flag. If you hear banging, gurgling, whistling, or rattling sounds, don’t dismiss them. A gurgling sink, for instance, might indicate a blockage forming in the pipes, which could become a bigger problem if not addressed.
Slow drainage in sinks, tubs, or toilets is another clear sign. If multiple fixtures are draining sluggishly, it might point to a clog in the main sewer line.
Visible water stains or mold on walls, ceilings, or under sinks often mean a leak has been there for a while. By the time these signs show up, hidden damage may already have occurred over weeks or months.
Keep an eye on your water bill, too. Leaks can waste an average of 180 gallons a week - or over 9,000 gallons a year - causing your bill to spike even if your water usage hasn’t changed.
Lastly, unpleasant odors coming from drains or plumbing fixtures shouldn’t be ignored. These smells may signal sewer line problems or stagnant water, both of which can lead to more severe issues if left unresolved.
How to Inspect Your Plumbing System
Routine inspections can help you catch problems early and complement your emergency preparedness. Start by examining all visible plumbing - look under sinks, around toilets, and near appliances that use water. When your home is quiet, listen for unusual sounds like dripping or hissing, which might indicate a hidden leak.
Check pipes for signs of wear, such as corrosion, cracks, discoloration, or mineral deposits. These issues often appear before leaks develop.
Test the water pressure at every fixture. A weak flow at one faucet might mean a localized issue, while low pressure throughout the house could point to a larger problem with your main line.
Inspect your foundation and floors for new cracks or uneven surfaces, as these could hint at a slab leak. Additionally, standing water in your yard near the foundation might signal an underground pipe issue.
Another simple but effective step is to monitor your water meter. With all water turned off, any movement on the meter suggests a leak.
Don’t underestimate the impact of small problems. A dripping faucet, for example, can waste over 3,000 gallons of water annually. Spending $200 to fix it now could save you from a $1,000 emergency repair later. Spotting these issues early allows you to act before they spiral out of control.
What to Do Right Away During a Plumbing Emergency
When faced with a plumbing emergency, quick action is key to minimizing damage and avoiding costly repairs. Acting swiftly to control water flow, electricity, and documenting the situation can save you a lot of trouble down the line. Let’s break it down step by step.
“Mitigation is what’s being done to stop the damage from being worse.” - David Ragsdale, Production Manager of SERVPRO
Turn Off Water and Electricity
The very first step is stopping the water. If the issue is localized, such as a leaking faucet or toilet, use the fixture’s shutoff valve. For larger emergencies like a burst pipe, head straight to your main water shutoff valve and turn it clockwise until it’s fully closed.
If water has come into contact with electrical outlets, appliances, or panels, you must also turn off the power. Locate your main electrical panel - commonly found in the basement or garage - and flip the main circuit breaker to the “off” position. Keep a flashlight handy, as cutting power may leave you in the dark.
“Knowing how to shut off the water, gas or power in your home during an emergency can save you thousands of dollars in damages and repairs.” - Applewood Plumbing
Important: Never attempt to turn off electricity if there’s standing water near the panel. In such cases, contact your utility company immediately and wait for professional assistance.
Stop Water from Spreading
Once the water source is under control, focus on containing the damage. Time is of the essence - water can quickly seep into walls, floors, and furniture.
- Use towels, rags, or buckets to catch drips and absorb water.
- Wrap leaking pipes with absorbent materials to slow the flow.
- Move electronics and valuables to a safe, dry location, and elevate furniture if possible.
If it’s safe to do so, a wet/dry vacuum can help remove standing water quickly. Otherwise, stick to manual methods like mops and sponges. After containing the water, improve air circulation by running fans to help dry the area and reduce the risk of mold. Before you begin cleaning up, take a moment to document the damage.
Document Damage and Call for Help
Take clear photos and videos of the affected areas to support any insurance claims. Once documented, call a professional plumber right away.
Plumbing emergencies can escalate fast, so don’t delay. Services like 24/7 Plumbers Near Me connect you with experienced professionals who can address the issue and prevent further damage. Even if the emergency happens in the middle of the night or on a weekend, it’s vital to act immediately. Water damage doesn’t wait, and delaying professional help could lead to more extensive repairs later.
While waiting for help to arrive, keep an eye on the situation. Ensure shutoff valves remain secure, monitor water levels, and be prepared to adapt if conditions change. Quick action now can make all the difference.
Stay Ready for Plumbing Emergencies
Staying prepared for plumbing emergencies isn’t something you do once and forget about - it’s an ongoing effort that protects your home and wallet. Beyond the basics, keeping up with regular maintenance and staying vigilant can save you from unexpected headaches.
Start by keeping your emergency plumbing kit in top shape. Check flashlights regularly, replace batteries as needed, and make sure all tools are in working order. It’s just as important to know how to use each tool effectively. Store the kit in a spot that’s easy for everyone in your household to find.
Keep an eye on your plumbing system to catch small problems before they turn into big ones. Did you know that a tiny drip can waste up to 20 gallons of water a day, and a leaky toilet can lose as much as 200 gallons? Watching your water bill for unusual spikes, inspecting pipes for signs of wear or corrosion, and monitoring your water pressure are simple habits that can make a big difference.
Make quarterly maintenance a priority. Test your water shut-off valves to ensure they work when you need them. Every six months, check the pressure relief valve on your water heater. Inspect pipes in unheated areas like basements and crawl spaces for potential freezing risks, and tighten any loose connections or replace worn-out washers.
For anything beyond a small leak or clog, don’t hesitate to call in a professional. Keep the contact information for a reliable plumber handy - you’ll be glad you did when time is of the essence.
“The key to minimizing water damage is quick action.” – This Old House
FAQs
What are the warning signs of a potential plumbing emergency?
If you spot water leaks, low water pressure, or overflowing toilets, don’t ignore them - these are often early signs of plumbing trouble that can worsen fast. Other indicators to watch for include bubbling or gurgling noises in your pipes, stains or warping on walls or floors, and lingering unpleasant smells near drains.
Catching these problems early can save you from expensive repairs and major inconveniences. If any of these signs pop up, reach out to a professional plumber right away to get things checked out.
How often should I check my plumbing system and emergency kit to stay prepared for unexpected issues?
It’s wise to give your plumbing system and emergency kit a thorough check once a year to make sure everything is in good shape and ready to handle unexpected situations. During this inspection, keep an eye out for leaks, signs of corrosion, or any wear and tear on your pipes and fixtures. Also, double-check that all the tools and supplies in your emergency kit are complete and in working condition.
If you live in an older home or experience frequent plumbing issues, you might want to bump up the frequency to every six months. Taking these preventive steps can help you spot minor problems early, saving you from expensive repairs down the line.
What should I do if I can’t find my main water shutoff valve during a plumbing emergency?
If you’re scrambling to find your main water shutoff valve during a plumbing emergency, don’t panic - start with the usual spots. Check along the edges of your home, near where the main water line enters. It’s often located in the basement, crawl space, or utility area, typically near the water heater or along an exterior wall.
Still no luck? Head outside and look near the street for a small metal or plastic cover in the ground - this is likely the water meter box, which might house the shutoff point. If you’re unsure or can’t locate it, reach out to your local water utility. They can provide guidance or even assist with turning off the water temporarily. Knowing where your shutoff valve is ahead of time can save you a lot of hassle and help prevent serious water damage.