5 Ways to Clear Airlocks in Pipes
TLDR; Airlocks can occur after water shutoffs or repairs and cause taps to slow or stop because trapped air disrupts water flow. Common DIY fixes include running all taps fully, carefully using the hosepipe method, bleeding radiators and hot water systems, and refilling plumbing systems slowly to restore balanced pressure. Hot water systems are often more affected, and older homes may need extra caution with pressure-based methods. If DIY steps don’t work quickly or signs of serious pressure issues appear, calling a professional is the safest way to prevent damage and restore normal water flow.
When your water suddenly slows to a trickle or stops without warning, panic usually hits fast. You twist the tap again and wait (as if that’ll somehow fix it). Nothing happens. Maybe the toilet will be different? It isn’t. Moments like this are stressful, and for many homeowners they lead to a rushed search for an emergency plumber near me. A common reason behind this problem is an airlock in your pipes. This often happens after repairs or water shutoffs, when pressure changes inside the system (and yes, it happens more often than people expect). Some airlocks clear on their own. Others stick around, get ignored, and turn into a real plumbing emergency near me situation. No warning. Just stress, usually when you’re already busy.
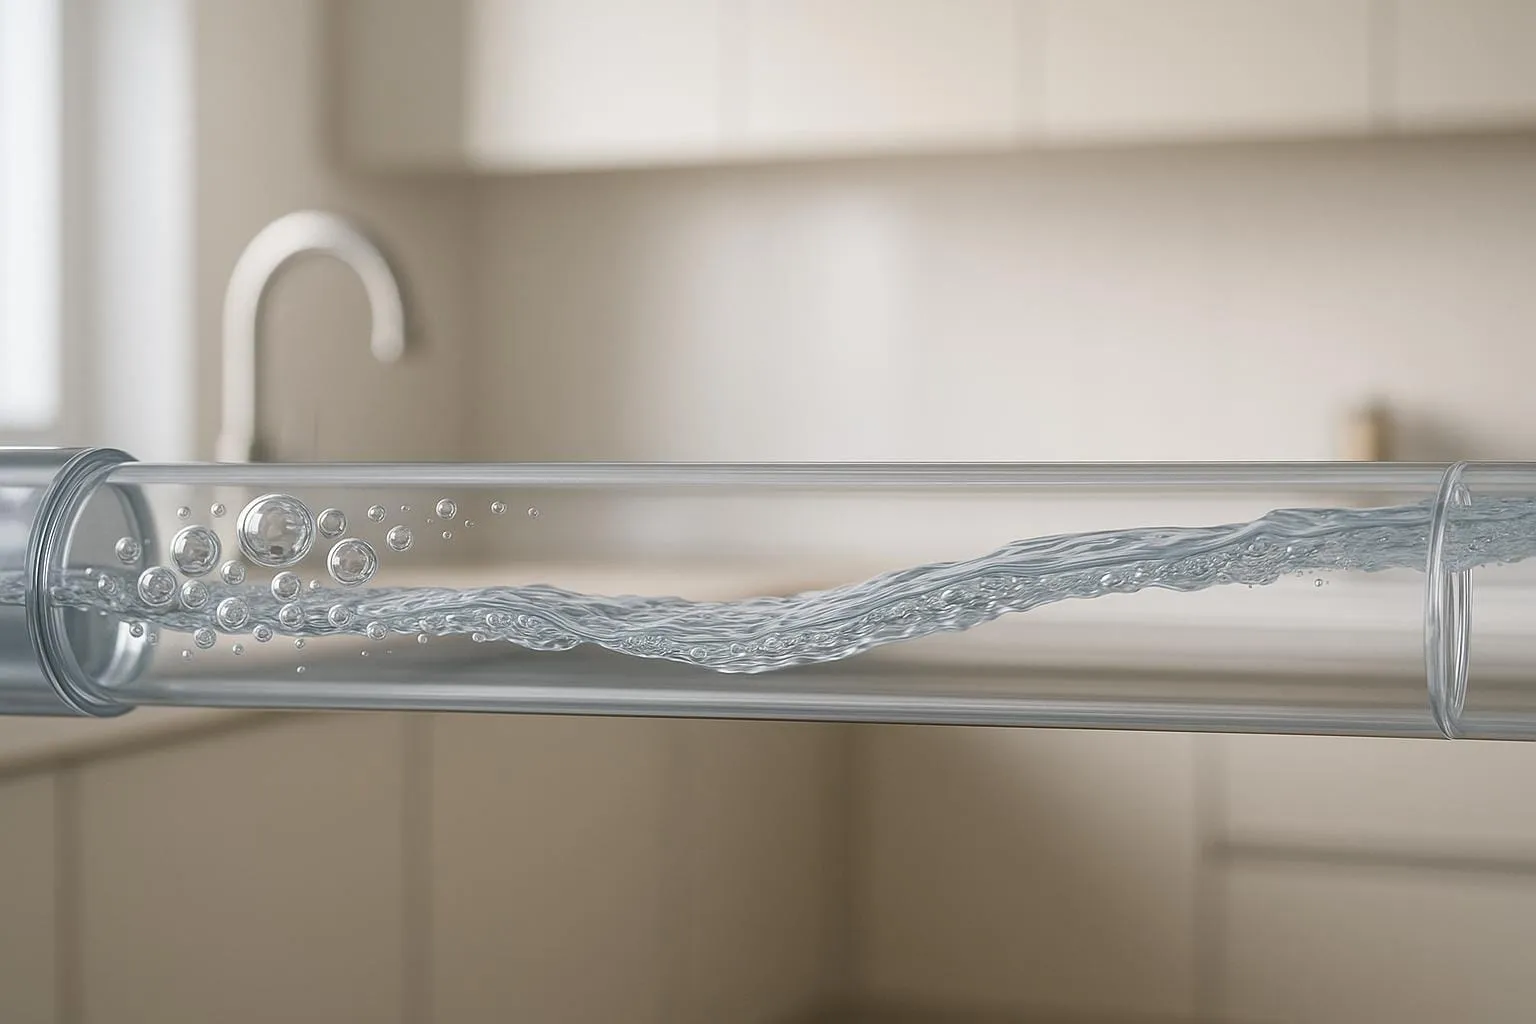
Airlocks trap pockets of air inside the pipes, and that air blocks water from flowing the way it should. It often starts with one tap, then slowly spreads to others around the house. Hot water systems are especially prone to this and are usually the first to act up. If left alone, airlocks can put extra strain on pipes and fixtures, which raises the chance of leaks or even bursts. Those repairs are expensive in most cases. Knowing a few safe response steps can help, even if you plan to call a 24/7 plumber. A bit of understanding can keep you calmer and stop small issues from getting worse.
This guide walks you through five proven ways to clear airlocks in pipes. Each method explains what to try, and when it’s time to stop and call a 24/7 plumbing service. You’ll also learn how to prevent airlocks and how they connect to bigger plumbing risks. And if something doesn’t feel right, a plumbing service 24/7 is there for a reason, help is available when you need it.
Understanding Airlocks and Why They Happen
Airlocks usually show up when air slips into a plumbing system and can’t escape. This often happens after a water shutoff for repairs, installing a new fixture, or servicing a boiler. These are all normal situations and usually feel harmless at the time. Problems start when the water gets turned back on too fast. Air pockets can settle into high spots in the pipes, like upstairs lines or the tops of vertical risers, where they act like invisible plugs. Water flow slows down, sometimes to a trickle, which quickly becomes frustrating.
Older homes deal with this more often. Many have uneven pipe slopes, worn-out valves, or layouts that weren’t designed to handle pressure changes smoothly, especially compared to newer systems. On busy mornings, those weak spots show up right away.
Temperature changes add another wrinkle. Hot water expands, which makes it easier for air to separate inside boilers and water heaters. As systems heat up and cool down over time, the problem can slowly build without much notice. This Old House points out that trapped air messes with pressure and interrupts steady flow (This Old House). Newer homes aren’t immune either. They can run into the same issue, especially after DIY work where refill steps are skipped or rushed. Small mistakes often lead to bigger headaches.
Airlocks are being noticed more often for practical reasons. The plumbing industry is stretched thin, with repairs making up over half of all jobs and fewer workers available. When fixes are rushed or systems are refilled the wrong way, airlocks often show up.
| Industry Factor | Impact on Homeowners | Year |
|---|---|---|
| U.S. plumbing revenue | $169.8 billion | 2025 |
| Plumbing businesses | ~132,000 | 2025 |
| Projected plumber shortage | ~550,000 workers | 2026 |
All of this explains why quick DIY fixes sometimes end with late-night searches for a plumbing emergency near me. Understanding the basics helps homeowners slow down, notice warning signs sooner, and make calmer choices before a small issue grows into a bigger one.
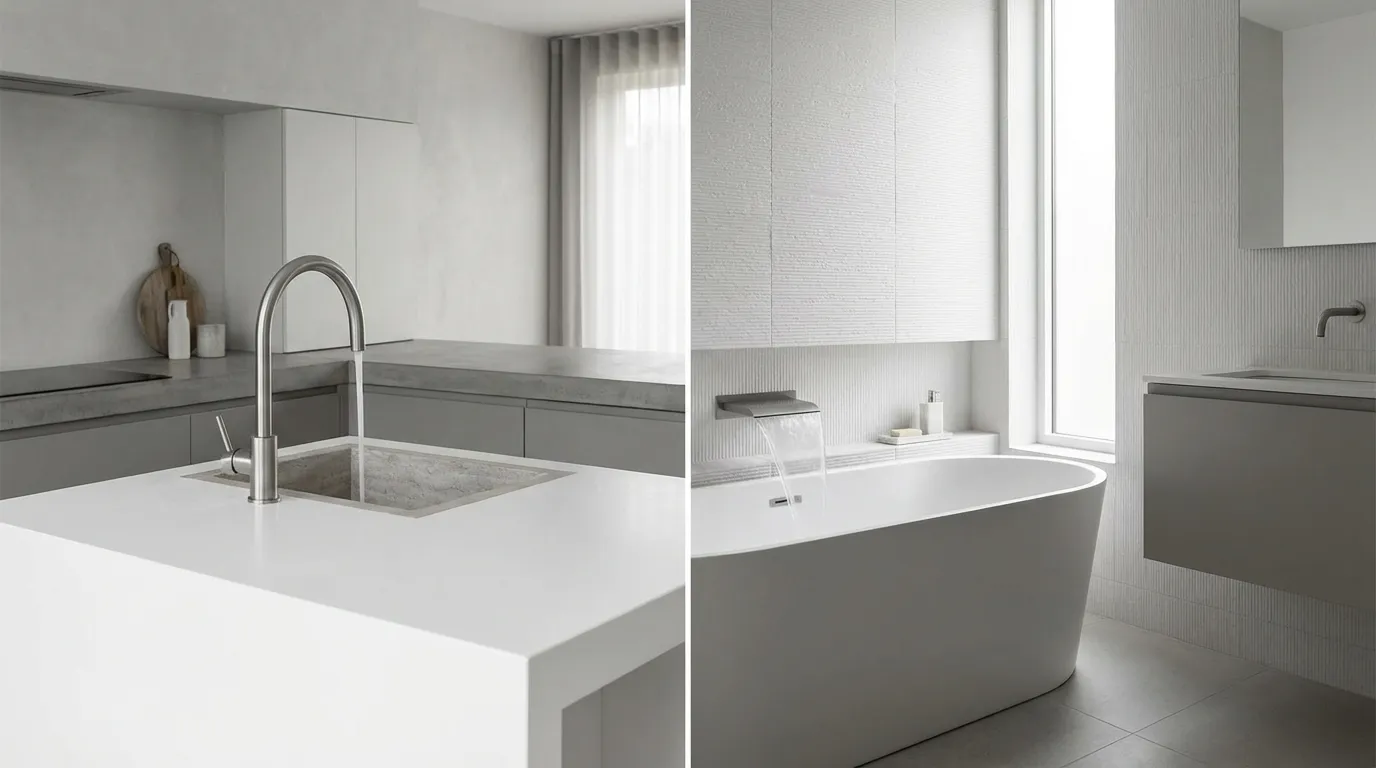
Way 1: Run All Taps Fully to Release Trapped Air
This is usually the first option plumbers recommend because it’s simple and doesn’t need tools or prep, so you can try it right away. Most of the time, you’ll see results by turning on every cold tap in the house and letting them run at full flow for a few minutes, then switching to the hot taps and doing the same. With everything fully open, trapped air can move through the pipes and escape on its own. A steady, unrestricted flow helps the system settle without putting extra strain on valves or joints, which is why this easy step works in many homes.
A helpful way to do this is to start with the lowest tap in the house, like a basement sink or a ground-floor faucet, and then move up one floor at a time. Gravity can help push air upward while normal water pressure does the rest. It’s simple physics, but in real situations it can make a clear difference. In many homes, small airlocks clear within five to ten minutes using only this method, as long as you’re patient.
While the water is running, pay attention to what you see and hear. Sputtering or spurting usually means air is being pushed out, which is a good sign. Once the flow turns smooth, turn the taps off slowly. Shutting them too quickly can pull air back into the system and undo what you just fixed. Going slow matters here.
If water still doesn’t return, or pressure stays weak after a full try, it’s best to stop. Pushing harder can lead to bigger problems. That’s when many homeowners contact a 24/7 plumber. Related warning signs are explained here: 7 signs you need emergency plumber right now.
Way 2: Use the Hosepipe Method Carefully
This method uses mains water pressure to push trapped air backward and out of the pipe. It usually works best when the problem is limited to one tap or fixture, not the whole house. A common approach is to start outside. Attach a hose tightly to an outdoor spigot, then connect the other end to the problem tap. The seal matters more than appearance. Many homeowners wrap a cloth or use a rubber gasket and secure it with strong tape to limit leaks. It doesn’t need to look tidy, just fully sealed.
So what if you rush this part? Turning the outdoor water on slowly makes a big difference. Sudden pressure changes can cause new issues, which defeats the purpose of a quick fix. Let the water run for about a minute, then turn it off fully. Disconnect the hose and test the tap. In many cases, you’ll notice the change right away, often within seconds, so a short test is usually enough to tell if the air pocket has moved back into the main line.
I’ve found this approach can work, but it does carry real risks, especially in older plumbing. Too much reverse pressure can crack joints or loosen fittings. CED Engineering, a technical source often used for plumbing design guidance, points out that pressure imbalance is a common cause of damage in aging pipes (CED Engineering). Because of that, this method is usually a poor choice for corroded, delicate, or unfamiliar pipe materials.
If it doesn’t work the first time, it’s best to stop. Repeating it often raises the chance of damage. At that stage, calling a 24/7 plumbing service is usually safer and can save money over time, with less stress and fewer surprises.
Way 3: Bleed Radiators and Hot Water Systems
Uneven heating is often the first clue that something isn’t quite right. If the hot water is the only thing acting up, the issue is usually inside the boiler or the heating system itself. Trapped air is a common cause. Radiators can collect air easily, especially after maintenance or a system refill, which happens more often than people think. Letting that air out helps hot water move through the system properly again. It may sound simple, but it often fixes more than expected.
Before starting, make sure the heating is switched off. Grab a radiator key or a flat tool and slowly open the bleed valve. You’ll hear a hissing sound as the air comes out, which is normal. Keeping a cloth nearby is a good idea so water doesn’t drip everywhere (speaking from experience). Once water flows in a steady stream without spurting, close the valve. Taking your time helps. Starting with the lowest radiator and moving up floor by floor usually gives better results.
After bleeding all the radiators, check the boiler pressure gauge. The pressure often drops during this process, and if it’s not corrected, the air can come back and cause uneven heating again.
This approach works well in many cases, but it does need care. If you notice pressure problems or leaks, stop right away. When this keeps happening, it often means a bigger issue, and calling a local emergency plumber is the safest way to prevent damage to the system.
Way 4: Refill the System Slowly After Shutoffs
Prevention matters just as much as repair. Many airlocks form because plumbing systems are refilled too quickly after shutoffs. When water rushes back in, it traps air before it can escape. Opening the main valve slowly allows water to displace air naturally.
As the system refills, open taps one at a time instead of all at once. Begin with cold taps, then move to hot. This controlled process gives air a clear exit path and reduces pressure shock inside the pipes. It may take a few extra minutes, but it significantly lowers the risk of future airlocks.
Professional plumbers follow this method every time because it protects pipes, valves, and appliances. Industry best practices emphasize slow, controlled refilling as a key prevention step. With labor shortages and rising repair costs, avoiding preventable issues is more important than ever.
We remain cautiously optimistic about plumbing industry market conditions in 2026.
That optimism depends on homeowners adopting safer habits that reduce unnecessary emergency calls.
Way 5: Call a Professional for Pressure Balancing
Same‑day urgent is the right phrase when water flow affects more than one room, starts acting erratic, or cuts out and doesn’t come back. That kind of issue often points to a deeper pressure problem, not a simple clog. In those moments, a 24/7 plumbing service can get water moving again fast and usually lowers the risk of water damage or mold, which can spread quickly. Btw, we wrote about this here: how to prepare for plumbing emergency at home.
When airlocks keep coming back, the cause is rarely simple. Most of the time, it comes down to pressure imbalance or a poor pipe layout, especially in older homes. Aging systems often have worn valves, and hidden blockages can build up over time. It’s frustrating, honestly. Repeating DIY fixes at this point usually wastes time and can raise the risk of cracked fittings or leaks you can’t see.
A licensed plumber uses special tools to measure pressure and rebalance flow the right way, without putting extra stress on the pipes (which is harder than it sounds). There’s no guesswork. They can also spot weak joints, corrosion, or tiny leaks that home checks often miss. Fixing these early often helps stop repeat emergencies and keeps your plumbing working longer.
When an Airlock Becomes a Real Emergency
Not every airlock is harmless, at least not most of the time. Some point to bigger plumbing problems. When water pressure drops all at once across the home, every faucet, every fixture, pipes can take on unsafe stress. That’s when things often get serious. You’ll usually notice it first from loud banging inside the walls or leaks you can see, and those signs rarely fix themselves just because someone hopes they will.
In more serious cases, trapped air can lead to burst pipes or even water heater failure, often mixed with backflow issues, which makes cleanup messy fast. Industry data already shows repair demand rising as homes get older and maintenance is delayed (Future Market Insights). Waiting often turns a manageable fix into thousands of dollars in damage.
Residential sales opportunities are expected to improve as housing markets stabilize, particularly in regions where mortgage rates ease back into the 5, 6% range.
With more homeowners staying put, investing in plumbing that can handle pressure changes matters, especially once leaks and pressure drops start to show up.
FAQ Questions and Answers
Can an airlock damage my pipes?
Yes. Trapped air can raise pressure and cause uneven stress (it’s frustrating). Over time, this weakens joints, harms valves, leads to leaks, and may even cause sudden pipe bursts.
How long should I try DIY fixes before calling a plumber?
Since pushing on often causes damage, it’s usually time to stop DIY fixes. Why keep trying if water isn’t back after about 15 minutes, or the pressure feels off? A 24/7 plumber can likely handle it safely.
Do airlocks affect hot water more than cold?
I usually think the answer is yes. Hot water systems expand and contract more during use, and that movement can trap air after cycles or maintenance, so they tend to hold air longer, most of the time.
Is it safe to use the hose method in old homes?
It’s usually risky, in my view. Older or corroded pipes can’t handle reverse pressure and break easily. If that sounds like the house, it’s safer to call a professional and skip shortcuts.
How can I prevent airlocks after repairs?
Refilling systems slowly usually helps. Tap handling matters, snapping them shut can trap air. Go gently, and you’re less likely to get airlocks.
The Smart Way to Protect Your Home
Airlocks feel small until they are not. What starts as a slow tap can become a full plumbing emergency near me in minutes. Knowing the five ways to clear airlocks helps you respond quickly without putting your system at risk. Just as important, it teaches you when to stop.
The key takeaway is balance. Try simple, low-risk steps first. Pay attention to warning signs and respect your plumbing system’s limits. When pressure problems persist or affect multiple areas, call a trusted emergency plumber near me without hesitation.
A reliable plumbing service 24/7 is not just about fixing pipes. It is about protecting your home, preventing costly damage, and preserving your peace of mind. When water flow fails unexpectedly, choosing professional help is always the smartest decision.